How to Add Your First Tool in AI Register | Step-by-Step Guide
How to Add Your First Tool in AI Register
This guide shows you how to add your first tool to AI Register, complete the data and risk fields, record governance controls, and save the tool into your register properly. It is written as a practical step-by-step guide so users can follow it in the same order they see the screens on the platform.
Before you do this, make sure your firm is already registered in AI Register. If you have not completed that part yet, start with the registration guide first, then come back here to add your first tool.
Register your firm first
The first step is registration. If you have not created your AI Register account and set up your firm profile yet, follow this guide first before adding any tools.
Add your first tool
Tool register
AI governance
Step 0: Register your firm first
Before you can add your first tool, your firm should already be set up in AI Register. That means creating your account, accepting the terms, entering your firm details, and completing the governance setup.
Follow this guide first: How to Register for AI Register
Before You Begin
Before adding a tool, gather the key information about the product and how it is actually used in your firm. Doing this up front makes the process faster and helps you build a more accurate register from the start.
- ✓The name of the tool and the vendor that provides it
- ✓A short description of what the tool is used for in practice
- ✓How often the tool is used within the firm
- ✓How information is entered into the tool, such as manual input, API integration, or file upload
- ✓Whether the tool processes client data or influences advice or decision-making
Helpful tip: describe how the tool is really used in day-to-day practice, not how it is supposed to be used in theory. That makes your register much more useful later for oversight, review, and audit.
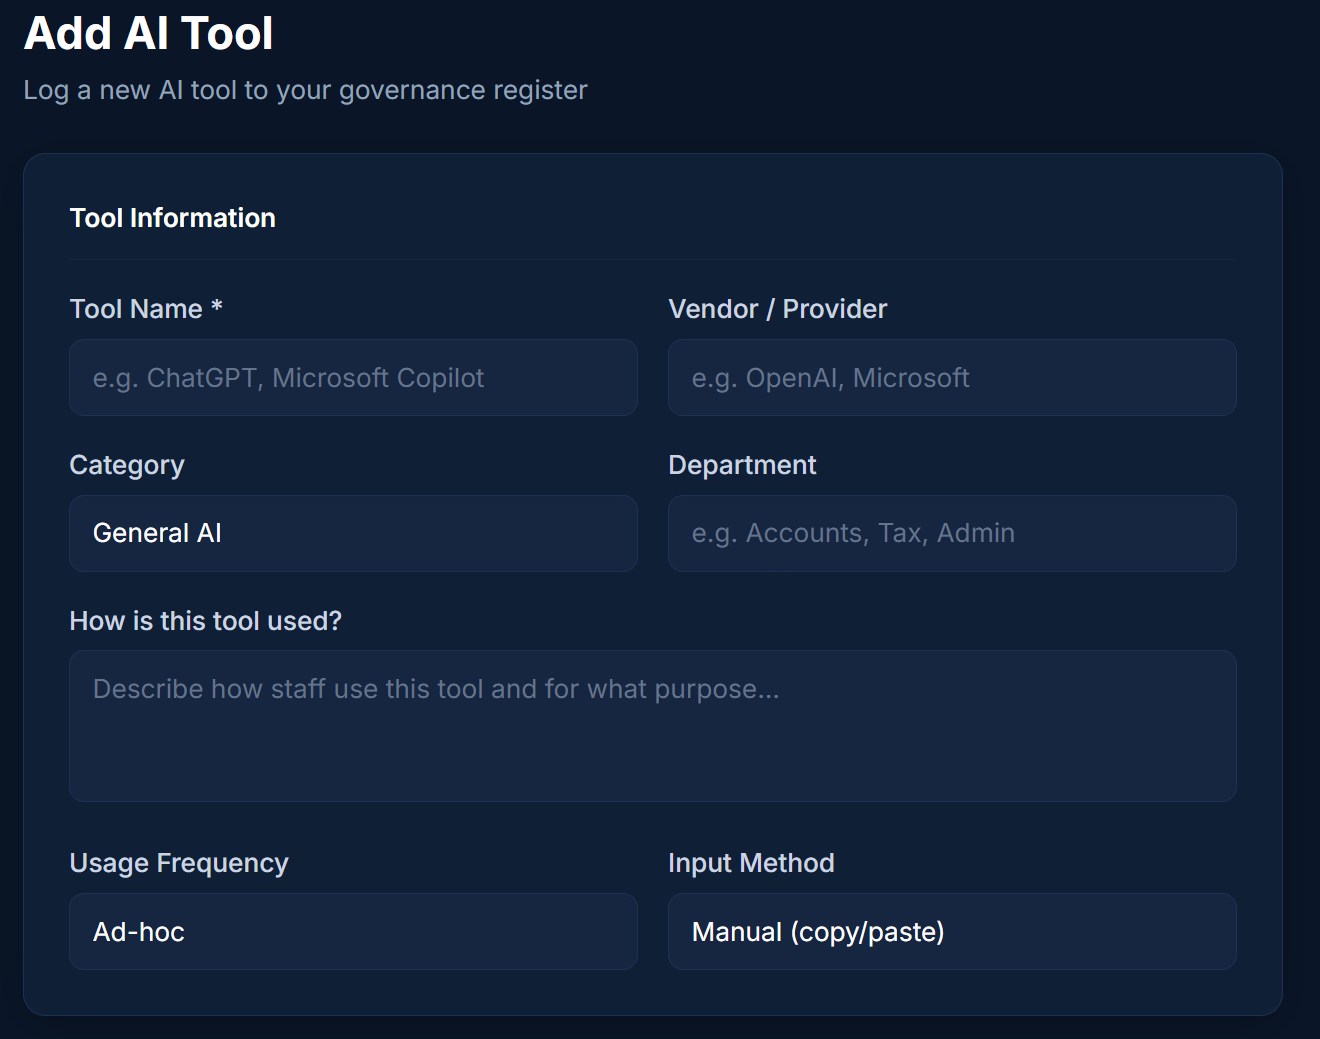
Step 1: Enter the Basic Tool Details
Start by entering the core information about the tool. This identifies the product clearly and gives useful context about how it is being used within your organisation.
- Tool name and vendor: enter the product name and the supplier behind it
- Category: choose the best fit, such as General AI, Accounting AI, Automation, or Document Processing
- Description of use: explain what the tool actually helps the firm do
- Frequency of use: choose whether it is used daily, weekly, or ad hoc
- Input method: record whether information is added manually, through an API, or by file upload
Keep this part clear and practical. If the tool is used for drafting, summarising, internal research, workflow automation, or document handling, say that simply and directly.
Then do this: move into the data and risk section to record whether the tool creates a higher-risk governance profile.
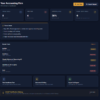
Step 2: Complete the Data and Risk Section
Once the basic details are in place, move to the Data & Risk section. This is where you capture whether the tool handles client data, whether outputs are shared externally, and whether the tool can influence professional advice or decision-making.
- Client data: record whether the tool processes personal, financial, or sensitive information
- Sharing outputs with clients: confirm whether tool outputs go directly outside the firm
- Influence on advice: state whether the tool affects financial, tax, or regulatory advice
This section matters because it helps your firm see where additional review, controls, or approval may be needed. If a tool touches client data or influences client-facing work, that should be reflected accurately here.
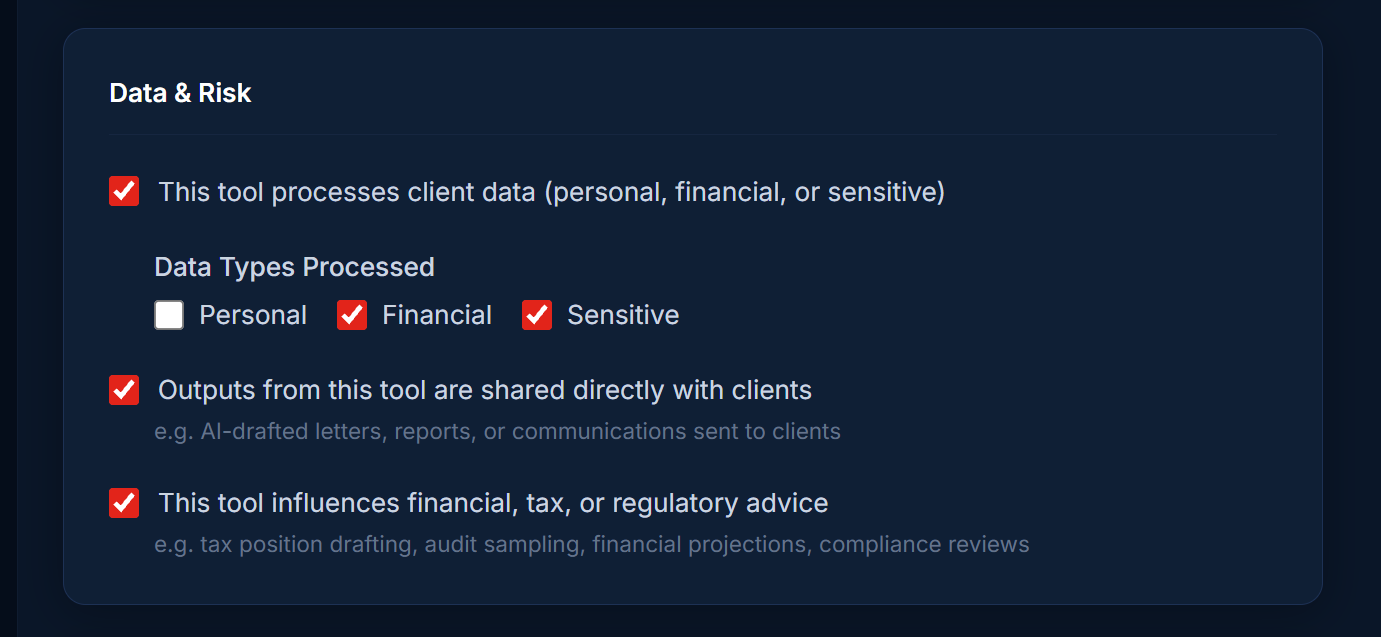
Look out for: if a tool seems low-risk at first glance but still handles client financial information or contributes to advice, make sure that is captured honestly in the register.
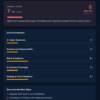
Step 3: Record Governance and Approval Information
Next, confirm how the tool is governed inside the firm. This section is about responsible adoption and whether the right internal controls are already in place.
- Whether the tool has been formally approved for use
- Whether staff have received training on safe use
- Whether a policy or governance approach exists for this tool
Answer these fields as accurately as possible. If approvals, training, or policies are still being developed, the register can help highlight those gaps rather than hide them.
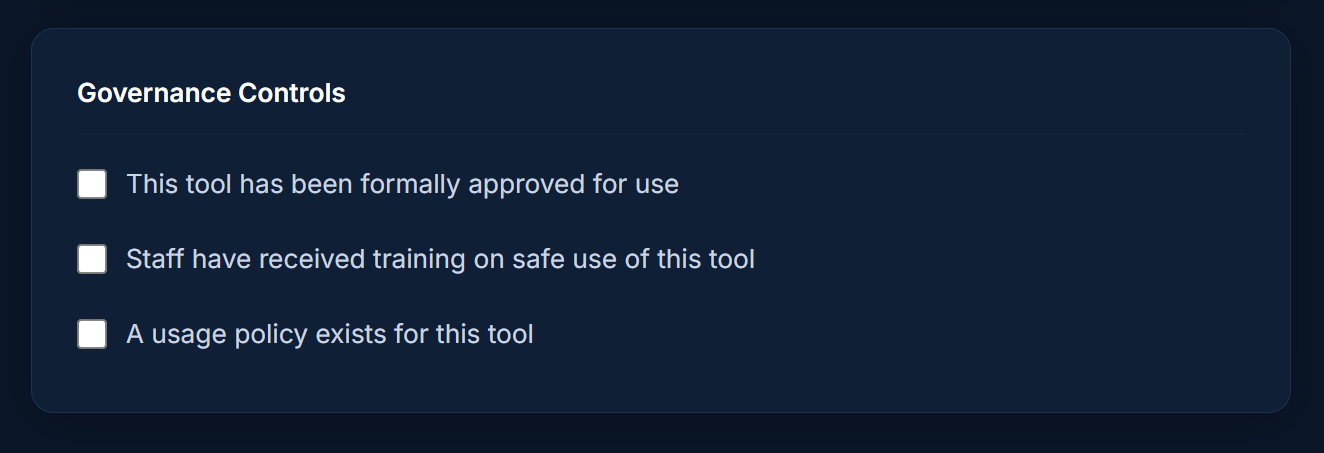
Look out for: don’t tick approval or training fields just because they are planned. This section should reflect the current state of governance, not the intended future state.
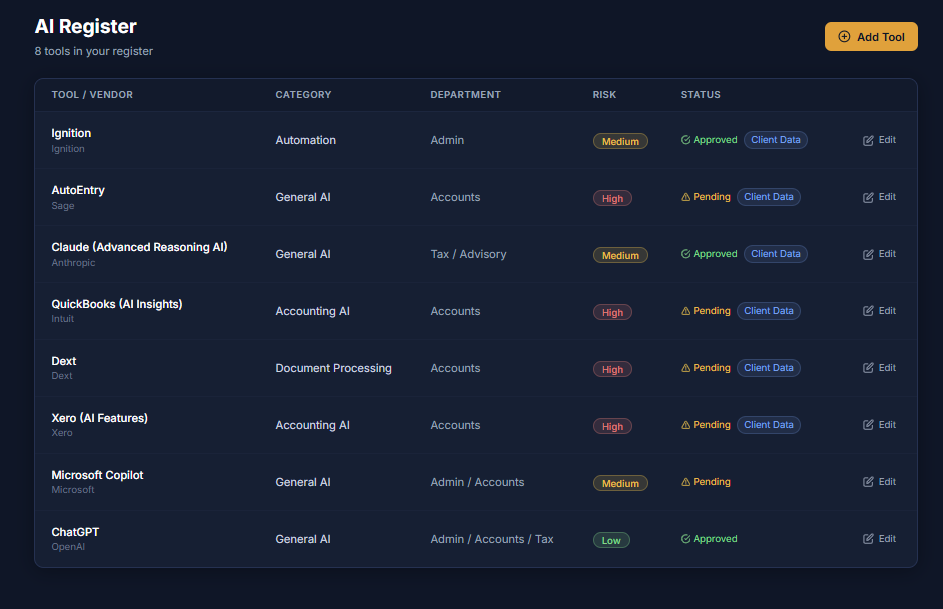
Step 4: Add the Tool to the Register
When you have completed all of the relevant fields, select Add to register. This saves the tool to your AI Register and makes it part of your firm’s recorded inventory.
Once the first tool is added, you can repeat the same process for any other tools used across the firm. Over time, this will help you build a more complete picture of your AI and automation landscape.
Do this: save the tool once the details, data, and governance fields are complete.
Then do this: repeat the process for each additional tool your firm uses so your register becomes more complete over time.
Final Review
Before finishing, review the entry carefully. Check that the description, data classifications, and governance selections all reflect reality. A well-maintained register becomes much more useful later for internal controls, training, and future reviews or audits.
- Is the tool name and vendor correct?
- Does the description explain how the tool is actually used?
- Have you accurately recorded whether client data is involved?
- Have you been honest about whether the tool influences advice or outputs sent to clients?
- Do the governance fields reflect what is in place now, not what is only planned?
Look Out for These Common Mistakes
- Adding a vague description that does not explain the tool’s real use case.
- Understating data sensitivity because the tool feels informal or experimental.
- Failing to flag when outputs are shared with clients or influence advice.
- Ticking governance controls that are not consistently in place.
- Saving the tool without reviewing whether the entry would make sense to someone else in the firm later.
A clear and accurate first entry sets the standard for the rest of your register. If you get the first one right, it becomes much easier to add the rest consistently.
Add your first tool to AI Register
Once your firm is registered, the next practical step is to add your first tool properly. Record how it is used, capture the data and risk profile, and document the governance controls around it.
Data and risk
Governance controls